
Key Takeaways for Successful Joint Filling
- Prep is Paramount: Clean the joint thoroughly before starting. Dust or grease will prevent the gap filler from sticking properly, which leads to premature cracking or peeling.
- Stone Requires Special Care: Avoid using standard acrylic gap fillers on natural stone like marble or granite. Use Fix ALL Flexi instead to prevent “oil migration” that can permanently stain porous surfaces.
- Time Your Tape Removal: If you use masking tape for a neat edge, pull it away while the sealant is still wet. If you wait until it skins over, you risk tearing the edge of your new joint.
- Check Your Paint Type: Soudal Pro Gaps is designed for water-based paints. If you’re using oil-based paints, ensure the filler is fully cured or check the specific product technical data sheet first.
Achieving a seamless finish between walls, skirting boards, or window sills requires a high-quality acrylic sealant. Soudal Pro Gaps Fill & Paint is designed specifically for these joints, offering excellent adhesion and a 20-minute paint-over time. Whether you’re a DIYer or a trade professional, following the correct application process ensures your paint won’t crack or craze over the joint.
Step-by-Step Instructions for How To Apply Gap Filler
- Prepare the Cartridge: Cut the tip of the cartridge and screw on the nozzle. Cut the nozzle at a 45-degree angle to match the width of your joint.
- Clean the Surface: Ensure the area is dry and free from dust, grease, or old sealant. This is vital for a strong bond.
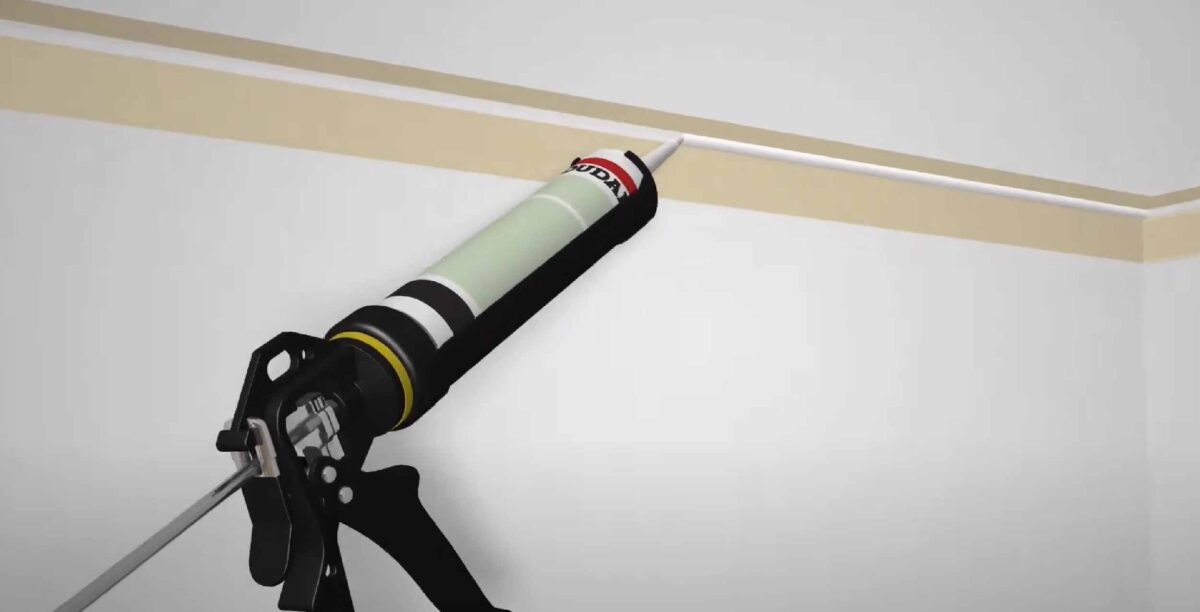
- Apply the Product: Place the cartridge into a caulking gun and apply a steady bead of gap filler into the joint.
- Natural Stone Tip: If you are sealing against a natural stone windowsill, do not use standard acrylic. Instead, use Fix ALL Flexi to avoid staining the porous stone.
- Spray Finishing Solution: Lightly spray the joint with a finishing solution or soapy water to prepare for smoothing.
- Smoothen the Joint: Use a smoothing tool or your finger to level the sealant for a professional finish.
- Remove Tape: If you used masking tape for clean lines, remove it before the sealant begins to form a skin.
- Paint and Done: Once cured (typically 20 minutes for Pro Gaps), you are ready to paint.
From ultra-fast drying options to high-flexibility exterior fillers, we have a product for every gap. View the Full Soudal Fillers Range.
FAQs
- Can I paint over Soudal gap fillers immediately? While some products like Pro Gaps Quick Dry allow for painting after only 10 minutes, Pro Gaps Fill & Paint is typically ready for water-based paints after 20 minutes.
- Why should I use Fix ALL Flexi on natural stone? Standard sealants can contain oils that migrate into porous stones like marble or granite, causing permanent staining. Fix ALL Flexi is chemically designed to be non-staining and serves as a high-quality adhesive and sealant in one.
- Is this gap filler suitable for outdoor use? Yes, Soudal’s paintable gap fillers are suitable for both interior and exterior applications once fully cured and painted. For high-movement exterior joints, we recommend Pro Gaps Exterior.