
Key Takeaways:
- Paintability, sandability, and a smooth finish are the most important factors when repairing plaster cracks.
- Choose your filler based on the size of the crack, the required drying time, and whether you need to sand before painting.
- Lightweight interior repairs are best handled with products designed for easy tooling and finishing.
- Our Australian range includes Repair Express Plaster, Light Speed Filler, and Universal Bog to help you achieve a flawless painted result.
Repairing Cracks in Plaster
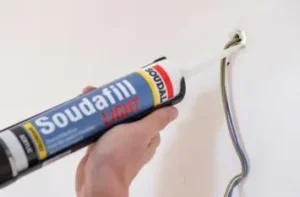
Filling lightweight cracks and surface defects in your plasterwork is an essential step before you start painting. A poor repair will show straight through your new coat of paint. In this application, you need a product that offers excellent paintability, easy sanding, and a perfectly smooth final finish.
Choosing the right paintable filler depends on the size of the crack and the drying time you require. Lightweight interior repairs are typically best handled with products engineered specifically for easy tooling. This ensures you spend less time sanding and more time painting.
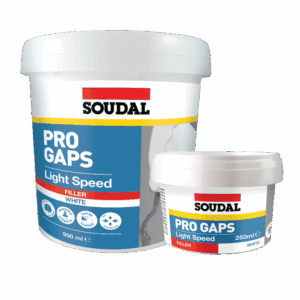
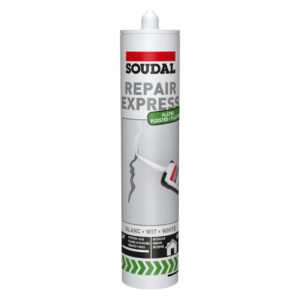
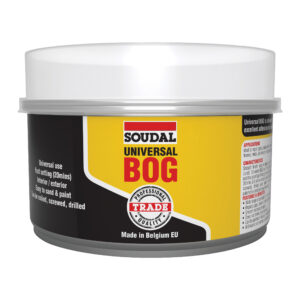
Light Speed Filler is our premium lightweight option for detailed work. It is incredibly easy to tool and provides a seamless result on walls and ceilings. For general plaster repairs, Repair Express Plaster delivers a smooth, shrink-free finish that you can paint over quickly. If you are dealing with deeper imperfections across different materials, Universal Bog provides a versatile, high-strength fill that sands back perfectly flush.
Using the right product ensures your walls and ceilings are properly prepared for a clean, professional painted result.
Expert Tips For Success
Clear the loose debris: Before you apply any filler, use a scraper to remove any loose or flaking plaster from the edges of the crack. If you apply filler over weak plaster, the repair will eventually fall out.
Overfill slightly: Filler often shrinks a tiny bit as it dries. Apply slightly more product than you need so it sits proud of the wall. This gives you enough material to sand back to a perfectly flat finish.
Use fine-grit sandpaper: Once the filler is completely dry, use a fine-grit sanding block to smooth the surface. Heavy-grit paper will leave deep scratches in the filler that your paint will not cover.
Remove the dust: Always wipe the sanded area with a dry microfiber cloth or a vacuum before you paint. Dust left on the wall will stop your paint from adhering properly.
FAQs
How long does plaster filler take to dry?
Drying time depends entirely on the depth of the crack and the room temperature. Lightweight products like Light Speed Filler dry very quickly for shallow surface defects. Always check the technical data sheet or the cartridge for the exact curing time before you start sanding.
Do I always need to sand the filler before painting?
Yes. Even if you smooth the filler perfectly with a spatula, you should give it a light sand once it cures. Sanding blends the edges of the repair into the surrounding plaster to ensure the crack is invisible under the paint.
Can I use these fillers on deep structural cracks?
No. These lightweight fillers are designed for surface defects, dents, and hairline cracks in the plasterboard. If you have deep structural cracks that penetrate the brickwork or framing, you need to use a dedicated expanding foam or structural repair product first.
Will the filler shrink and crack again?
Products like Repair Express Plaster are formulated to be shrink-free. However, if the building structure moves, new cracks can form. For corners or joints that experience high movement, you should use a flexible acrylic sealant instead of a hard-setting filler.